 Appointify AI
Appointify AI › Blog › How to Set Up a Web Call Widget AI Agent on Your Homepage for 24/7 Appointment Scheduling
← All articlesHow to Set Up a Web Call Widget AI Agent on Your Homepage for 24/7 Appointment Scheduling
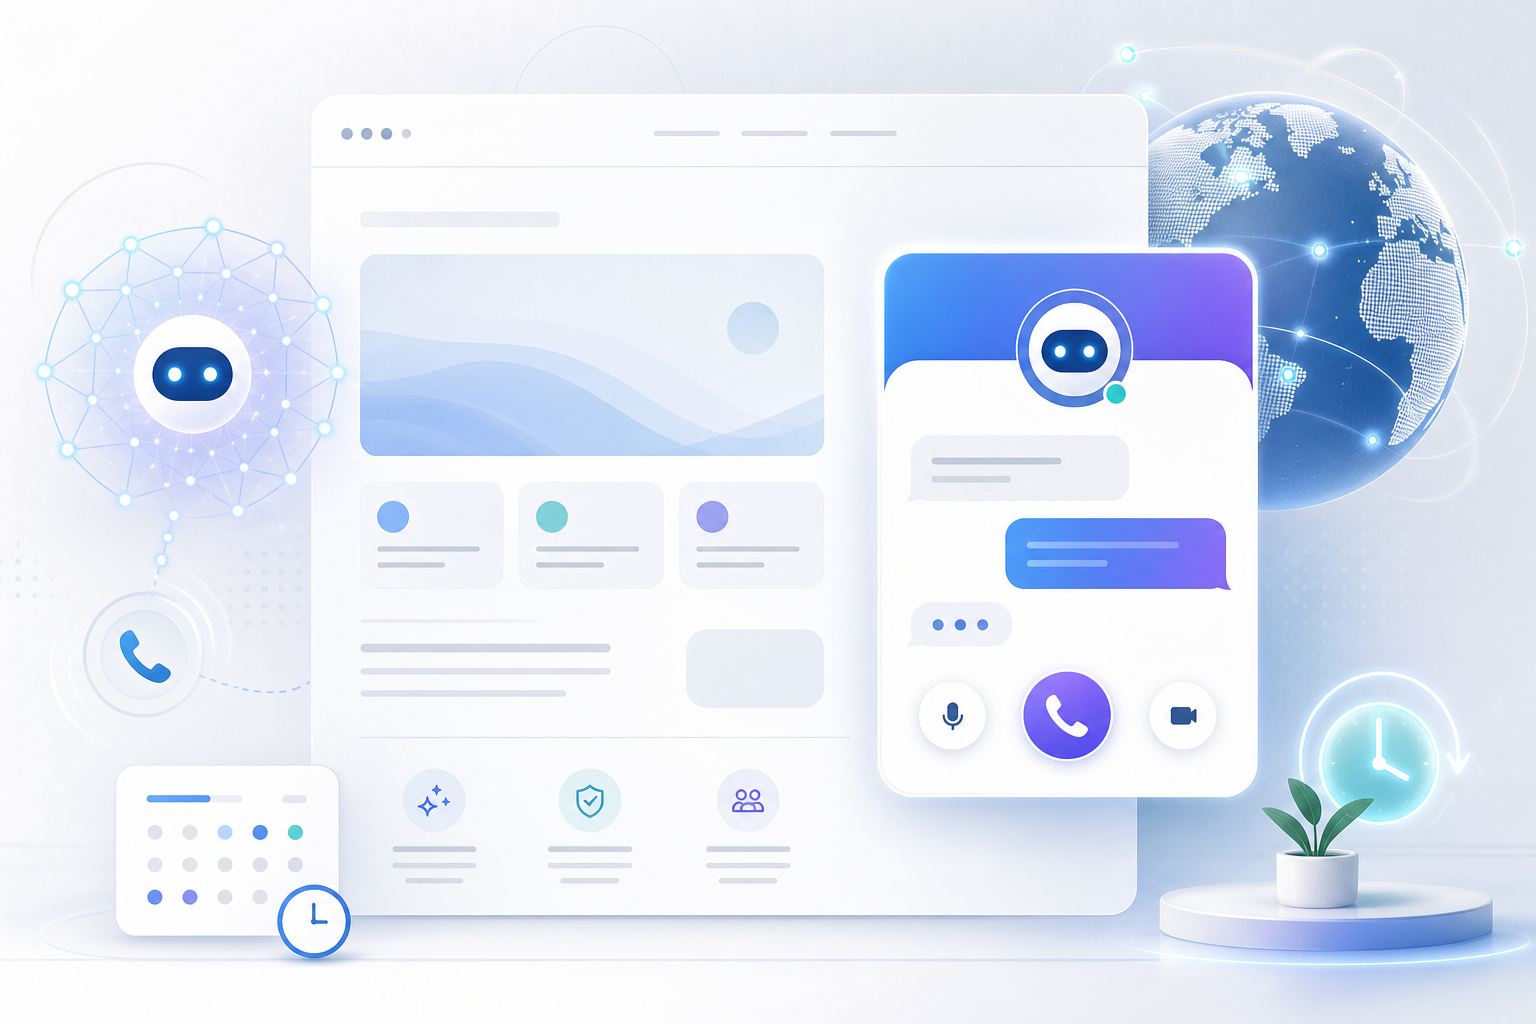
Setting up a web call widget AI agent on your homepage comes down to seven practical steps: choose the right widget format, connect a real-time calendar, define booking rules, write a short qualification flow, embed the code, test on mobile and desktop, and measure bookings after launch. If you do those pieces well, visitors can ask questions and book appointments any time without leaving your site.
What a web call widget AI agent actually does
A web call widget AI agent is a homepage widget that lets visitors start a voice or text conversation, get basic questions answered, qualify themselves, and book a time slot directly into your calendar. Compared with a static “Book Now” button, the widget can reduce friction in three ways:
1. It answers intent-first questions before asking for a booking.
2. It checks availability in real time so users do not hit dead-end forms.
3. It works after hours when your team is offline.
This setup is especially useful for businesses where prospects often have one or two questions before booking: law firms, med spas, home services, clinics, consultants, agencies, and B2B sales teams.
Step 1: Decide what kind of widget belongs on your homepage
Start with the format. Most platforms support one or more of these:
Inline widget
Best when booking is a primary homepage action.
- Appears directly in a page section
- Easier to discover
- Good for service businesses and landing pages
Floating button or bubble
Best when you want the widget available sitewide without dominating the page.
- Less intrusive
- Familiar on mobile
- Can open voice or text on click
Popup launcher
Useful for campaigns, but easy to overuse.
- Can improve visibility
- Riskier for user experience and Core Web Vitals if poorly implemented
For most homepages, a floating button plus expandable panel is the safest default. It keeps the page clean while making scheduling available from any section.
Step 2: Pick a platform that supports voice, booking logic, and embeddable code
Before building anything, verify the tool can do the basics you need:
- Voice and/or text interaction
- Calendar integration with Google Calendar or Microsoft Outlook
- Timezone handling
- Booking rules and buffers
- Website embed via JavaScript snippet or iframe
- CRM or webhook integrations if you need lead routing
- Consent messaging if calls are recorded or transcribed
If you plan to use voice in-browser, remember that secure contexts matter. Browser access to microphones generally requires HTTPS, and browser media APIs are documented by MDN’s getUserMedia() guidance here.
For live booking, check whether your calendar source supports availability control. Google’s appointment scheduling features and calendar integrations are documented in Google Workspace help here.
Step 3: Connect your calendar the right way
This is the part that prevents double-bookings and bad customer experiences.
Minimum calendar setup
Connect at least one of these:
- Google Calendar
- Microsoft Outlook / Microsoft 365
Booking settings to configure immediately
- Working hours by weekday
- Appointment duration by service type
- Buffer time before and after meetings
- Minimum notice required
- Maximum days into the future
- Timezone behavior for visitor vs. business
- Round-robin or single-owner assignment if multiple staff are involved
Example booking rules
A dental clinic might set:
- Consultations: 20 minutes
- New patient calls: 30 minutes
- Buffer after each booking: 10 minutes
- Minimum notice: 2 hours
- Booking window: next 21 days
A law firm might set:
- Intake consultation: 15 minutes
- Paid strategy session: 45 minutes
- No same-day bookings
- Only show slots Monday–Thursday, 9 a.m.–4 p.m.
If your tool syncs with external calendars, test conflicts manually. Put a fake event on the connected calendar and verify the widget no longer offers that time.
Step 4: Design the conversation before you embed the widget
The best AI widgets are short, specific, and operationally realistic. Do not try to make the homepage agent answer everything.
Your agent should usually do 5 jobs
1. Greet the visitor
2. Identify intent: book, ask a question, or leave details
3. Qualify with 2-4 questions
4. Offer times from live availability
5. Escalate if it cannot help
A simple homepage script structure
Opening message:
“Hi, I can help you book an appointment or answer a quick question. Would you like to see available times?”
Qualification questions:
- What service do you need?
- Are you a new or existing customer?
- What city or timezone are you in?
- What’s the best email or mobile number for confirmation?
Booking transition:
“I found openings tomorrow at 11:00 a.m. and 2:30 p.m. or Thursday at 9:00 a.m. Which works best?”
Fallback:
“If your request is urgent or more complex, I can collect your details for a human follow-up.”
Keep the flow tight
A common mistake is asking for too much before showing times. On a homepage, aim for:
- 1 greeting
- 2-4 qualification questions
- 2-3 slot options
- 1 confirmation step
That is enough to book without feeling like a form disguised as chat.
Step 5: Set business rules, not just calendar rules
Scheduling is more than free/busy availability. Your AI agent needs actual operational logic.
Rules to define before launch
- Which services can be booked online
- Which require manual approval
- Cancellation and rescheduling policy
- Lead qualification thresholds
- Service-area restrictions
- Emergency or after-hours routing
- Whether existing customers skip some questions
Example: home services company
For an HVAC business, the widget might:
- Ask whether the issue is heating, cooling, or maintenance
- Collect ZIP code to confirm service area
- Offer same-day slots only for approved ZIP codes
- Route “no cooling” marked urgent to a live line or emergency callback form
That kind of operational detail is what makes the widget genuinely useful instead of just decorative.
Step 6: Embed the widget on your homepage without hurting UX
Most vendors provide either a JavaScript snippet or an iframe.
JavaScript embed
Best if you want:
- Better styling control
- Event tracking
- Conditional display rules
- Responsive behavior tied to your theme
Iframe embed
Best if you want:
- Fast implementation
- Isolation from site code conflicts
- Minimal development work
If you use WordPress, Webflow, Shopify, Wix, or Squarespace, the usual path is pasting the vendor script into the site’s custom code area or a code block. After embedding, confirm:
- The widget loads on mobile and desktop
- It does not cover your main CTA or cookie banner
- It does not fire before consent if your setup requires it
- It does not noticeably delay page rendering
For performance checks, test with Google PageSpeed Insights here and Lighthouse guidance from Chrome Developers here.
Step 7: Add tracking so you know whether it is actually working
Do not launch blind. Track the widget like any other conversion path.
Metrics worth watching in the first 30 days
- Widget open rate
- Conversation start rate
- Booking completion rate
- Drop-off point in the flow
- Percentage of after-hours bookings
- Mobile vs. desktop completion rate
- Human handoff rate
Useful tools
- Google Analytics 4 for conversion events setup guide
- Google Tag Manager for custom event firing
- Microsoft Clarity for session recordings and rage-click detection official site
- Your widget platform’s own analytics dashboard
Example event map
Create events such as:
widget_openvoice_call_startedfaq_answeredbooking_slots_shownappointment_bookedhandoff_requested
This tells you whether the problem is visibility, conversation design, or booking friction.
A practical launch checklist
Use this before making the widget live:
Technical
- Homepage uses HTTPS
- Microphone permissions work in Chrome and Safari
- Widget loads correctly on iPhone and Android
- Calendar sync reflects conflicts correctly
- Confirmation emails or SMS messages are sent
Conversation
- Greeting is clear in under 20 words
- Agent asks no more than 4 qualification questions before offering times
- FAQ answers are accurate and current
- Fallback handoff works for unsupported requests
Operations
- Team calendars are connected to the right person or pool
- Buffers and notice periods are set
- Service types have correct durations
- Reschedule and cancellation logic is clear
Analytics
- Open, start, and booking events are tracked
- Test booking appears in analytics and the calendar
- Spam protections are enabled if available
Common mistakes that make AI scheduling widgets fail
1. Treating the homepage widget like a full support bot
Keep it narrow: answer common pre-booking questions and schedule.
2. Showing too many choices
If you offer six services and eight staff calendars at once, users stall. Start with the top 2-3 booking intents.
3. Forgetting mobile microphone behavior
Voice widgets must be tested on real devices, not just desktop browser simulators.
4. No fallback path
If the AI cannot help, offer:
- Human callback request
- Contact form
- Direct phone line
- Email handoff
5. Weak confirmation flow
After booking, send a clear confirmation with:
- Date and time
- Timezone
- Location or meeting link
- Reschedule instructions
Where Appointify AI fits
If you want a voice-first experience rather than a standard booking pop-up, Appointify AI is positioned around conversational lead capture and appointment booking directly from your site. For businesses that need visitors to speak naturally, ask a question, and then schedule, that approach can be a better homepage experience than sending users straight to a static calendar page.
Final takeaway
To set up a 24/7 web call widget AI agent on your homepage, focus on the operational basics: pick the right widget style, connect a live calendar, define real booking rules, keep the conversation short, embed it carefully, and track the outcome. The technology matters, but the biggest gains usually come from better booking logic and fewer steps between “I’m interested” and “I’m scheduled.”
FAQ
Can I embed an AI call widget directly on my homepage?
Yes. Most platforms provide a JavaScript snippet or iframe that you can place in your homepage code, CMS custom code area, or tag manager.
Do I need a calendar connection for AI appointment booking?
Yes, if you want real-time availability and automatic confirmations. Without a connected calendar, the agent can only collect lead details, not reliably schedule.
Is HTTPS required for a voice-enabled widget?
Yes in practice, because browser microphone access typically requires a secure context. Test this on your live site, not just a staging subdomain.
How long does setup usually take?
A basic setup can be done in a few hours, but a polished production setup usually takes longer because calendar rules, fallback logic, mobile testing, and analytics need validation.
What should I configure before launching 24/7 scheduling?
At minimum: connected calendar, service durations, buffers, notice periods, timezone handling, confirmation messages, fallback handoff, and conversion tracking.
References
- https://schedulingkit.com/hub/scheduling/how-to-embed-scheduling-on-website
- https://help.gohighlevel.com/support/solutions/articles/155000006648-how-to-set-up-and-use-the-voice-ai-chat-widget
- https://docs.cognigy.com/click-to-call/quickstart
- https://doc.rapida.ai/voice-deployment-options/web-widget
- https://help.skipcalls.com/en/articles/13282775-connect-google-calendar
- https://aicalldocs.mintlify.app/Create-AI-Agent/Google-Calendar
FAQ
Can I embed an AI call widget directly on my homepage?
Yes. Most platforms provide a JavaScript snippet or iframe that you can place in your homepage code, CMS custom code area, or tag manager.
Do I need a calendar connection for AI appointment booking?
Yes, if you want real-time availability and automatic confirmations. Without a connected calendar, the agent can only collect lead details, not reliably schedule.
Is HTTPS required for a voice-enabled widget?
Yes in practice, because browser microphone access typically requires a secure context. Test this on your live site, not just a staging subdomain.
How long does setup usually take?
A basic setup can be done in a few hours, but a polished production setup usually takes longer because calendar rules, fallback logic, mobile testing, and analytics need validation.
What should I configure before launching 24/7 scheduling?
At minimum: connected calendar, service durations, buffers, notice periods, timezone handling, confirmation messages, fallback handoff, and conversion tracking.